Social media
Brief a short demonstration video
A demonstration brief should identify the task, the visible evidence and the point at which the viewer knows it is complete.
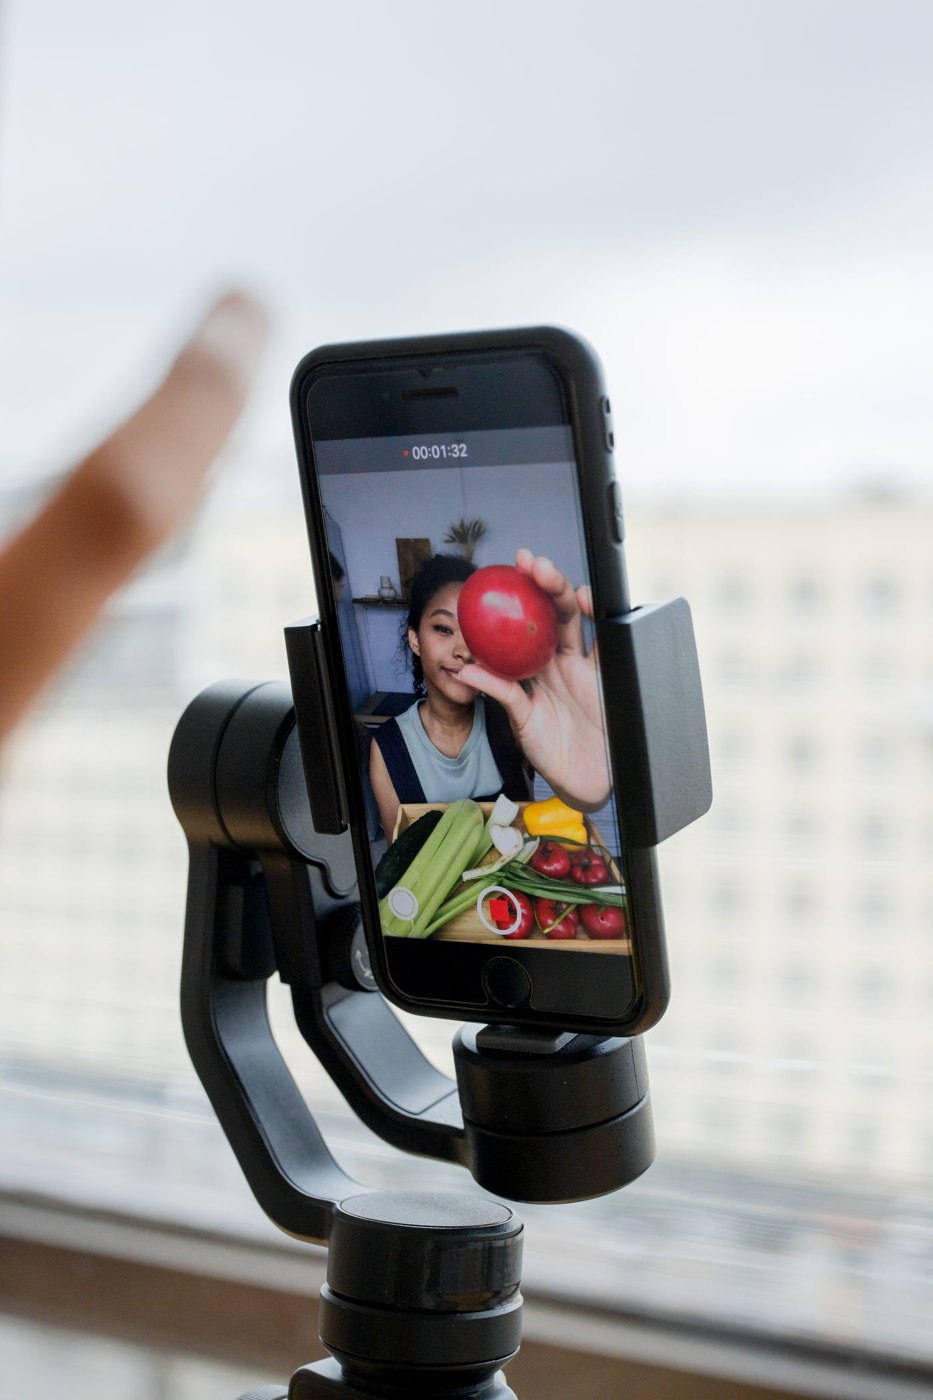
‘Make a video about the product’ leaves too many decisions unresolved. A short demonstration needs a narrower task: show how to adjust a setting, assemble a component or complete a specific workflow. The viewer should know what they are about to see and what successful completion looks like.
Start from the viewer's starting point
Describe what the viewer already has and what they need before beginning. In a hypothetical document-tool demonstration, a person may need an existing file and editing access. Omitting those conditions can make a simple sequence appear impossible to someone following along. Put necessary preparation in the brief rather than relying on the presenter to remember it during recording.
Choose the smallest complete task. A demonstration of renaming a file should not drift into a tour of every menu. At the same time, do not cut away the step that makes the result reproducible. The correct boundary is the task's completion, not an arbitrary desire to make every video the same length.
Describe what must be visible
Write a shot-by-shot outline containing the action, the important detail and any spoken explanation. A close view may be needed for a physical control; a screen recording may need a clear cursor position. Do not use a wide attractive shot when the essential movement is too small to see. Avoid covering the action with captions or decorative graphics.
Use a demonstration environment free of real customer information, private notifications and unrelated browser tabs. Prepare realistic but fictional sample data and label it where necessary. If the recording includes a simulated result, explain that rather than implying it documents a customer outcome.
Show the end state
Finish by displaying the completed result long enough to understand it. Briefly mention the most relevant limitation or common point of confusion. A demonstration is more useful when it explains what to check than when it ends immediately after a rapid final click.
An outline for a screen demonstration
For a fictional demonstration of adding a document comment, the brief could identify four visible moments: select the relevant text, open the comment action, enter a clearly labelled sample comment and show it attached to the intended passage. The presenter should explain why the selection matters rather than narrating every pointer movement.
A common editing temptation is to remove the wait between an action and its result. Shortening an uneventful pause can help, but cutting too aggressively may make the sequence appear instantaneous or hide a required confirmation. Preserve enough continuity for the viewer to understand what caused the change. If a long process is abbreviated, make that evident.
Check the final demonstration against the current version being shown. Interface changes can make a recording stale even when its general advice remains sound. Add the relevant version or recording context where it helps, and avoid promising that every viewer will see identical controls. A conceptual explanation may remain useful longer than an unnecessarily detailed tour of one screen.
Keep the script, sample data and final recording together. When the process changes, these materials help the next editor identify which part needs replacing. Without them, a minor update can require reconstructing the whole demonstration from a compressed video file.
Review the edit with someone who did not record it. Ask them to describe the task and identify any missing step. Check sound, captions and phone-size visibility separately. Do not measure success only by whether the presenter followed the script: the important test is whether the viewer can understand the action and recognise the result without guessing what happened between cuts.